Are you dreaming of a vibrant green lawn that will transform your yard into a picturesque oasis? Look no further! Installing natural grass in your garden is easier than you think. In this step-by-step guide, we’ll show you how to achieve a lush and healthy lawn that will be the envy of the neighborhood.
Step 1: Prepare the Area
Start by measuring the area where you want to install the natural grass. Clear away any existing vegetation, rocks, roots, or debris that might hinder the healthy growth of your lawn. Level the ground, removing any bumps and filling in any holes to create a smooth surface.
Step 2: Install the Grass
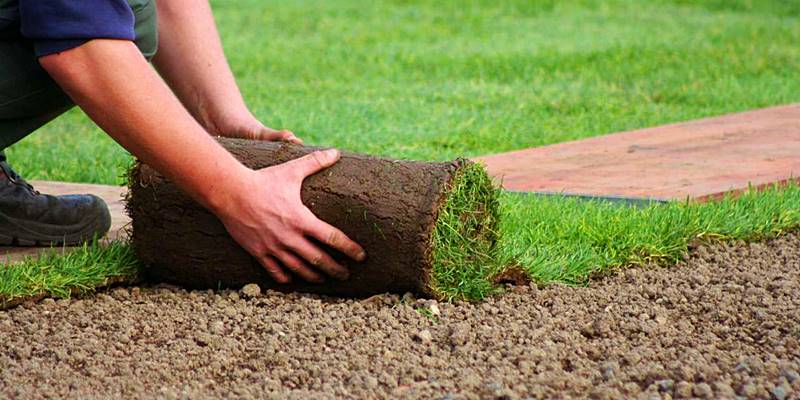
Begin at one end of the area and unroll or lay down the grass rolls or sod pieces onto the prepared soil. Ensure a snug fit between the edges, leaving no gaps. For sod pieces, use a sharp knife to cut and adjust them to fit the contours of your yard.

Step 3: Give It a Good Soak
After installing the grass, it’s crucial to give it a generous watering. This will help the roots establish and ensure proper settling. Water the entire lawn thoroughly to provide adequate hydration.
Step 4: Initial Maintenance
During the first few weeks, keep the soil moist but avoid excessive watering that may cause waterlogging. Follow specific watering recommendations for the type of grass you have selected. This initial care will promote healthy root growth.
Step 5: Ongoing Care
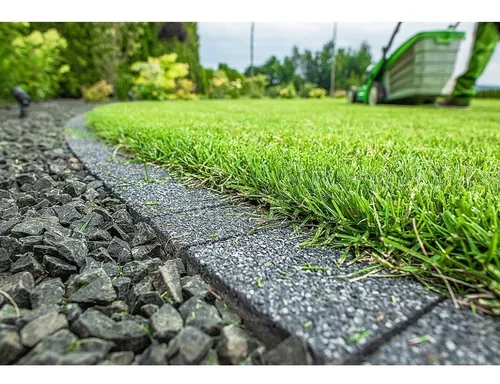
Once your grass has taken root, it’s time to maintain its beauty and health. Regularly water your lawn, fertilize as needed, control weeds, and mow the grass at a suitable height to keep it looking its best.

By following these simple steps, you can have a stunning natural grass lawn that will become the centerpiece of your outdoor space. Remember to consider your local climate and seek advice from gardening experts for personalized tips. Get ready to enjoy the lushness and comfort of your new green haven!
